Friday, September 30, 2011

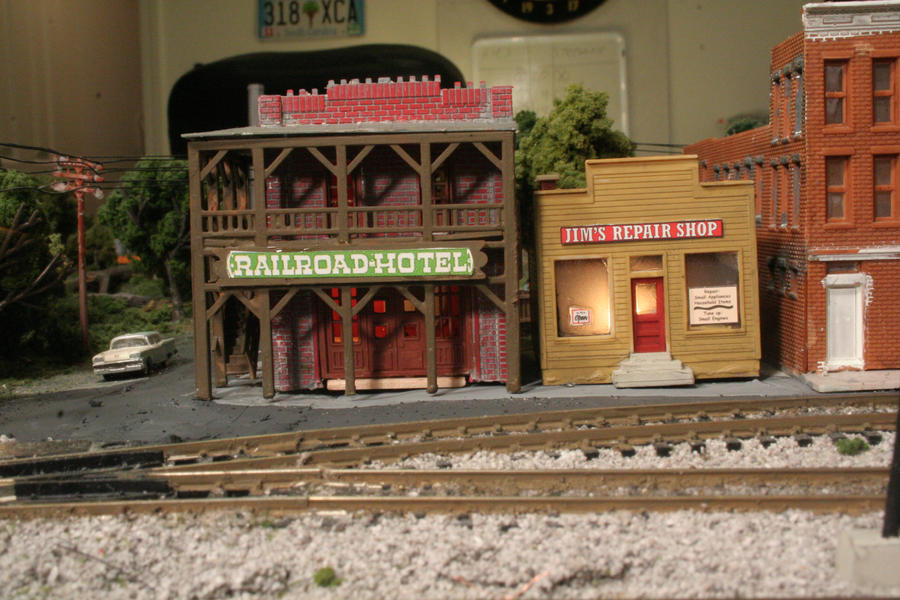
9/21/11 Finishsed Cornerstone's Jims Repair Shop kit

Walthers has discontinued this kit (as previously reported) but I was able to score one of eBay (seller my-esales). This kit is basially four walls and a roof. As such it goes together in about 30 seconds. The stock colors were pleasing to the eye but the finish was to plasticy looking for my taste. So I painted the steps Testors "Flat Light Aircraft Grey," the roof black and the walls Floquil "Depot Buff." Next I hit the building with a coat of weather wash, applied the decals and Dullcote. Since this building has light-colored walls, I painted the inside black to prevent the building from glowing.

9/19/11 Added new crossing signals

I decided I was getting tired of my toylike Bachmann crossing signals and I wanted more animation on the layout. So I added these NJ International crossing flashers. I haven't wired them up yet because I haven't yet received the required electrical do dad to make them flash. I have to say, they look much more realistic than their predecessors.

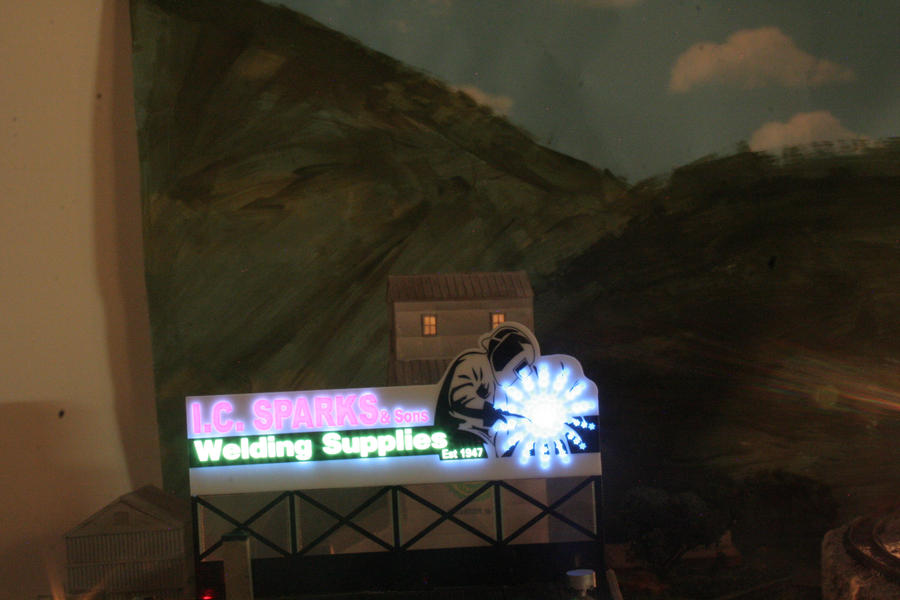
9/16/11 Added some neon lights

I went down to the local hobby shop in search of "something cool" to add to my  layout and found this Light Works USA neon sign. Since the layout needed a reputable supplier of welding supplies, I snapped it up. This thing looks awesome and adds some cool animation to the layout. On the down side I did have to stuff a battery pack, PC Board and a bit of ribbon cable into the building but it was well worth it.

9/15/11Finished Model Power's Railroad Hotel kit
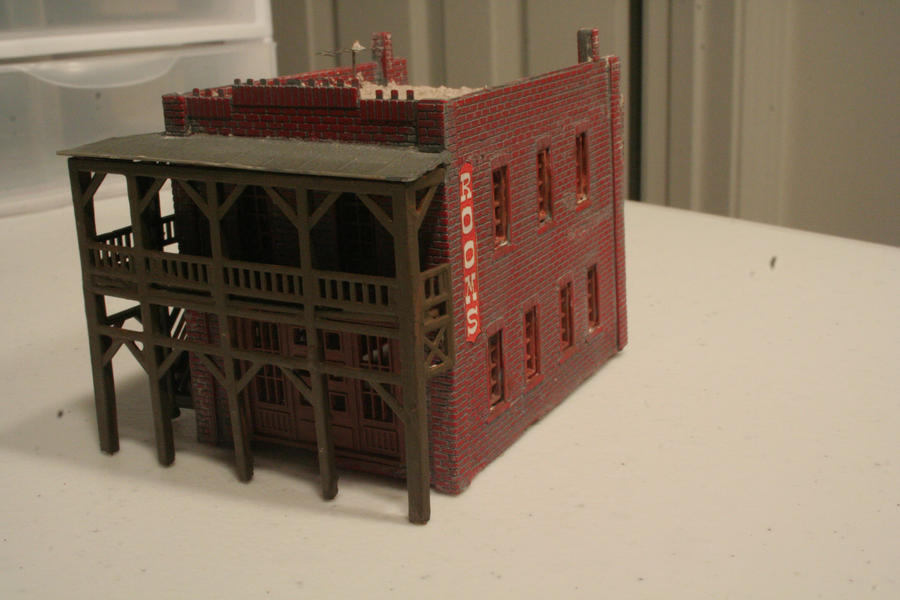
I decided that my Model Power "Oscar Mayer" building really didn't fit in with the rest of my buildings. I was too big and tall to be in a small town so I sought out s suitable replacement. I found MP's "Railroad Hotel" kit. Out of the box this thing is pretty lame so I decided to fix it up a bit. First thing I did was slather grey tempera paint all over the walls and then wipe most of it off. This filled in the mortar lines between the bricks. Next I painted the wooden walkway and supports Floquil "Rail Brown" and the windows and doors Floquil "Southern Freight Car Brown." When that was finished I applied a coat of weather wash to add a layer of dirt and grime to the building's exterior. After that I attached a Gold Medal Model's TV Antenna to the roof. For the roof, I glued some Woodland Scenics buff colored ballast to it to simulate a gravel roof. I finished up by spraying the whole thing with Testors Dulcote

The Oscar Mayer building was so wide that I could easily fit a second smaller building. I was hoping for a Cornerstone Jim's Repair Shop but according to Walthers, it's been discontinued.

9/13/11 Started Painting the Rails
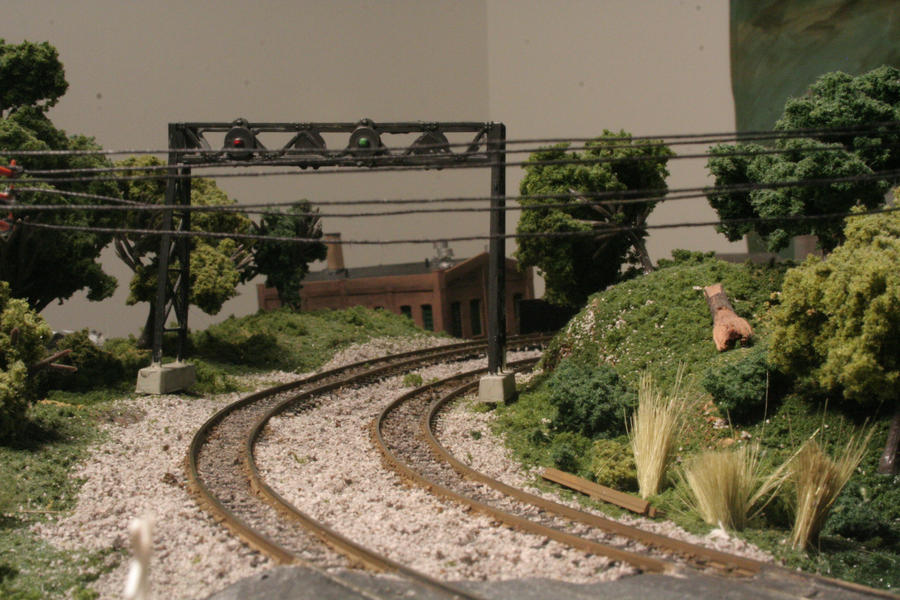
I finally girded my loins and stared painting the rails. I always dreaded this but you know what? It's not all that difficult, just tedious. The trick is to completely cover the rail and the clean the top with a paper towel. For paint I used Floqil "Rail Brown." The color is a spot-on match! If I'd know it would have been this easy I'd have done way back in 2009 when there was no ballast or scenery in the way.

As you can see I also weathered the track by brushing on a coat of really dark weather wash down the center of the two rails.

8/5/11 New Home

Well My girlfriend and I moved into a two-bedroom apartment. The second bedroom is now the train room. I have room for the layout, a small sofa and an honest-to-gosh work bench! This is living!

7/14/11 Blazing a new trail
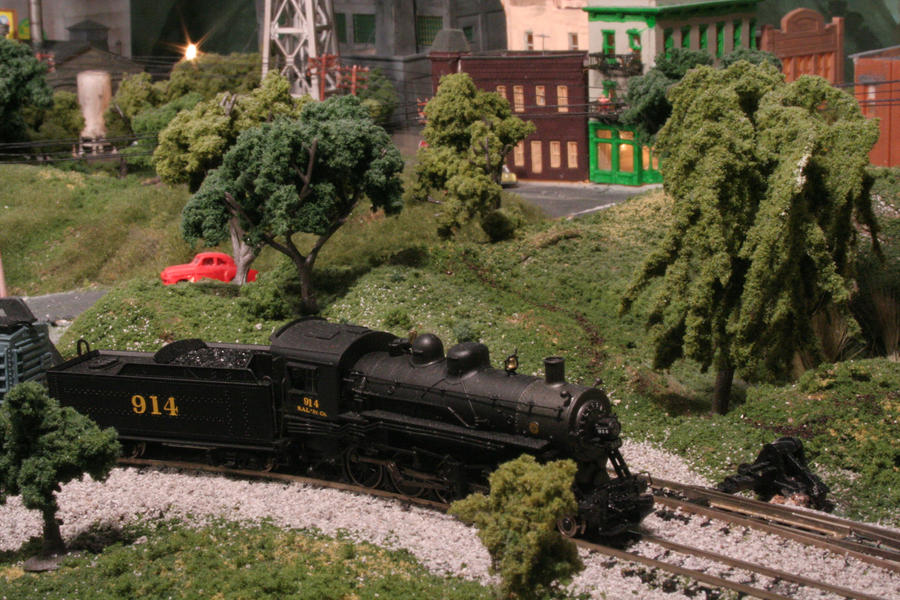
Since hiking is another one of my hobbies, I decided to add a trail to the layout. I scrapped away the turf with flat blade screw driver and them sprinkled on some sifted dirt. I sprayed it down with scenic cement and called it done.