Thursday, October 20, 2011

10/20/2011 Finished New Rail Models A-Fram Cabin Kit

This was my first laser-cut wood ever. And oh my god! These things are really hard to put together. The pieces are all tiny and very fragile and therefor tough to glue. When you do get the prices glued together, the whole thing feels flimsy enough it'll fall apart if you look at it wrong.  Also, getting the pieces out of the sprues is a bit of a challenge. I accidentally snapped more than a few of them. That said, the building looks very realistic, much more so then my plastic "wood" buildings.I guess I'll by using more wood buildings on my next layout.
In other news, I repainted the mobile home. My initial attempt ended up looking a like a kindergartener's finger painting. I repainted the roof Testors "Silver Metallic" for the roof, Testors "Flat Blue" for the walls, Floquil "Rail Brown" for the deck and Testor's "Light Yellow" for the awnings. Next I hit the thing with a coat of weather wash followed by Dullcote, brown chalks to simulate rust and then a filan coat of Dullcote. I also added a Gold Medal Models TV Antenna.

Wednesday, October 12, 2011

10/12/11 Added Some Relay Sheds


I picked these up off eBay (Seller "Savonart"). They're made of solid cast resin and came pre-painted. All I did was hit them with some weather wash and Dulcote then stick them on the layout.

10/11/11 Added New Bridge Abutments and Started Detailing the New Industrial Area

Unlike the last set of Bridge Abutments I installed, these were a real challenge. The curvature of the lower loop left me very limited clearances and no room to work. Rather than fart around with building abutments from scratch I decided to buy these Chooch Enterprises stone abutments. Unfortunately the close clearence situation required a bit of kit bashing. I had to cut cut the end of one of the walls, which happen to be made out of cast resin. This made a mess. I then turned the cut-off piece 90 degrees and glued it back on with CA, which also made a mess. The final step in installation was to cut out the scenery and risers to allow the abutment to fit, which made a huge mess. For the other end of the bridge, I cut my losses and simply installed the abutment on a angle. Filed in the gaps with plaster cloth, repaired the scenery. These abutments are a definite improvement. Much more realistic.


I also bought some Woodland Scenics figure packs and some Classic Metal Works trucks for the welding supplier and farm supply company. I also painted the loading platform in the photo Floquil Rail Brown.

Saturday, October 8, 2011

10/8/11 Upgraded the Lighting System

I dug this track light out of storage and mounted it above the layout. I did this for several reasons. First it lights the layout more evenly. Second I can use my GE Reveal light bulbs exclusively for layout lighting. These bulbs mimic natural daylight and show colors more accurately than normal bulbs. However they also use a lot more power and give off more heat than CFLs. Now I can covert the other lamps in the room to low-power CFLs and use the reveals only when it's time to run trains. Third, this also giver me a nice, permanent light source for photos.

Tuesday, October 4, 2011

10/4/11 This 'n That

Well it looks like a celebrated too soon re: lower line electrical problems. Another dead spot cropped up. What's more is that said dead spot is actually a portion the track that was causing problems earlier! I spent a good bit of time farting around with the multimeter, crimping rail joiners and getting nowhere fast. But then all of the sudden the trains started running again. I don't know what I did but I'm not asking any questions. I must say this seasonal game of electrical wack-a-mole is getting a bit tiresome.


Speaking of wiring, a few weeks ago I decided to reconfigure the power leads for layout's lighting. All the light bulbs on this layout are wired to one of three barrier strips. Said strips are then wired to the power supply. Well I origionally took the leads from each strip, braided them and hooked them up. I finally decided I wanted something that was easier to deal with and allowed me more precise control. That's where this nifty little Atlas "connector box" comes in.

This bad boy takes a single set of leads from the power supply and divides it into three and gives me an on/off switch for each barrier strip. This is very useful for tracking down short circuits.

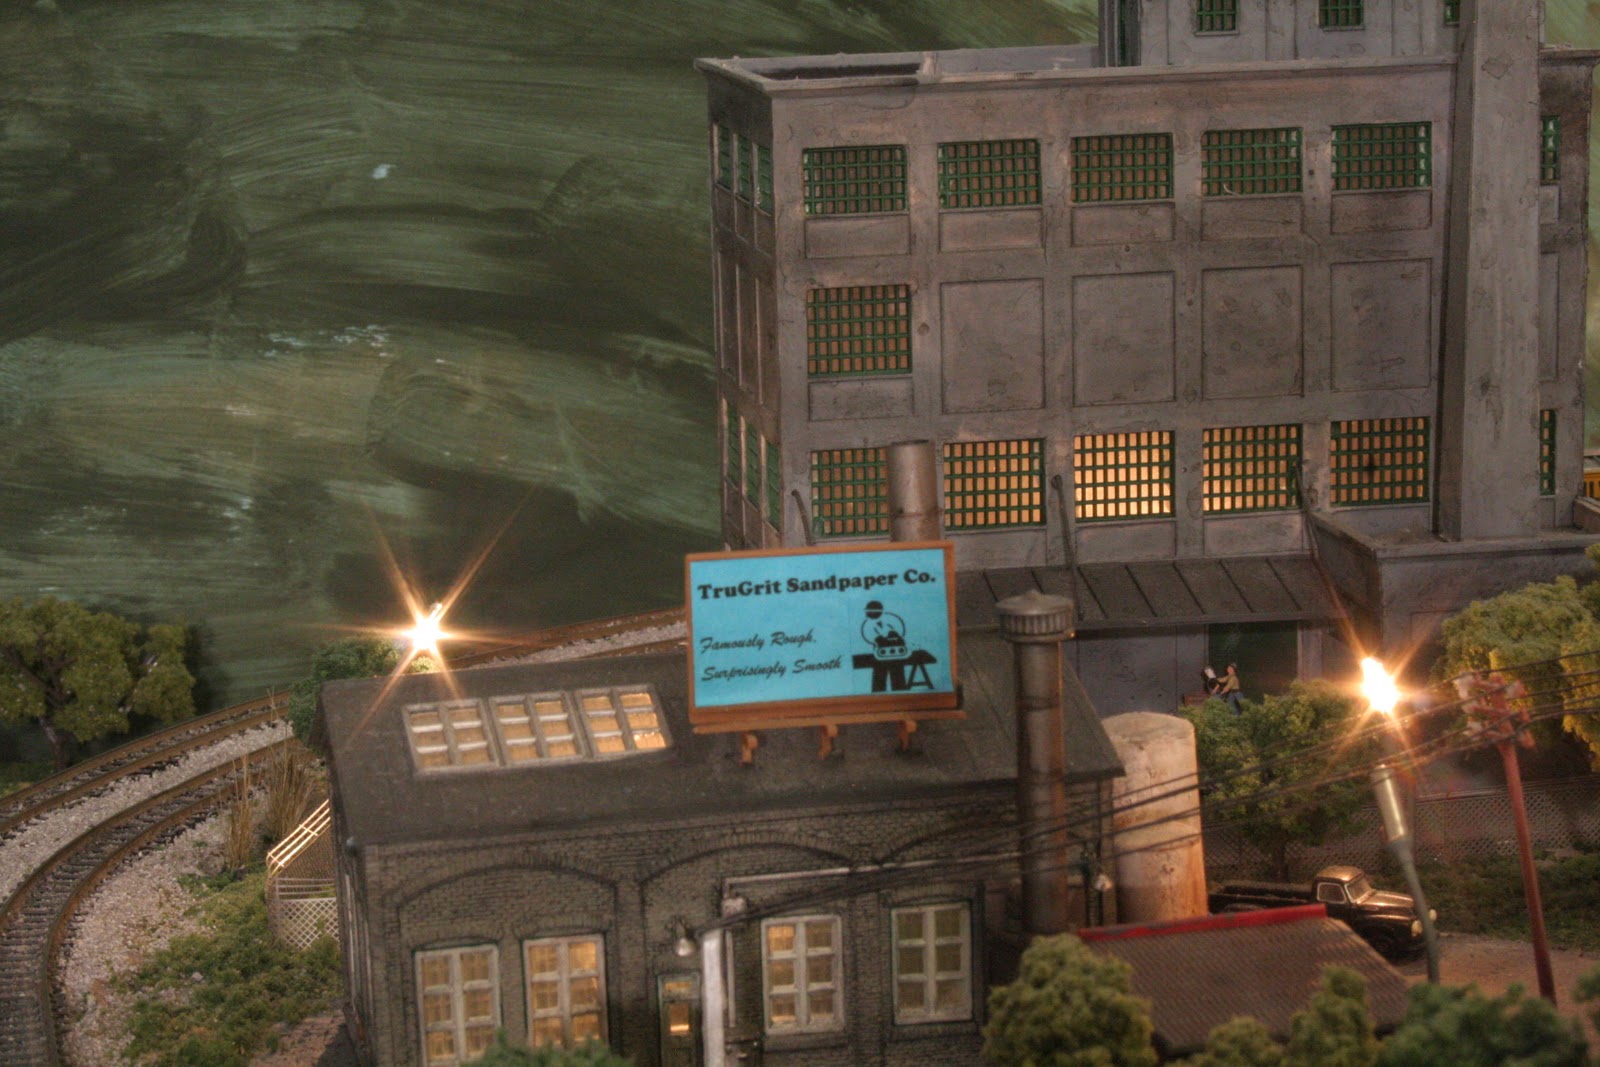
I did have one fun project and that was adding this sign to the AHM warehouse in the upper level industrial area.
The TruGrit Sandpaper Company is open for business. Their slogan "Famously Rough; Surprisingly Smooth" is a play of the slogan used by the Columbia, SC Convention & Visitor Bureau's slogan "Famously Hot Surprisingly Cool."

Saturday, October 1, 2011

10/1/11 More Emergency Track Repairs

Every autumn it seems that the lower line develops rampant electrical issues with the coming cool weather. The cool weather causes the track to contract and intermittent dead spots develop. This year was no exception. The same section of track that gave me problems the last two years started acting up again. In past years I simply crimped the rail joiners. This year I opted for a more permanent solution. I installed a new set of feeder wires right in the middle of said dead spot. And that was the ticket, I can now creep my trains through without the slightest hiccup.

9/26/11The NJI Crossing Signals are wired up

Wow, just a ton of work getting these things wired up. Getting them to activate and flash reuires TWO different pc boards, both available from Circuitron. The first is the DT-3 Grade Crossing detector. This little widget uses two little photo cells to detect a train. This was about $30 at the local hobby shop. However the hobby shop was out of the FL-2 flasher board. But I got lucky and scored two of them of eBay $10! (seller train-signal) These things sell new for $27. So there you have it, with the the mile or so of wiring involved, you have a $70 grade crossing.

All that work and money kind of makes me nostalgic about those old Lionel pressure switches I used to use for this purpose:

9/21/11 More new crossing gates

After removing the toy-like Bachmann crossing gates from the lower level, I decided the ones up top had to go too. But I didn't feel like spending another $70 for NJ Int'ls and the requisite activators. So I dug through my box of unused layout stuff and found these Cornerstone crossing signals.

These things came unpainted so I started out by spraying them Testors metallic silver. Next I painted the light housings black and added red for the lights. The gates I used Testors red and white. I applied white to the entire length of the gate then put on the masking tape. I then painted on another coat of white and let it dry completely to seal the masking before applying the red. I used grey for the counter weights.

For the crossbucks, I simply clipped the ones off the Bachmanns, filed them down and glued them on.

After the paint was done I applied a coat of weather wash followed up by Testors Dull Cote. So there you have it, a pair of crossing signals that literally took all day to paint and install. Was it worth it? Hell yeah! they look fantastic.